A practical technical guide to cage structure, feeding, drinking, heating, ventilation and early chick management.
Successful brooding depends on more than the cage itself. Chicks need accessible feed and water, an appropriate thermal environment, fresh air without direct drafts, and consistent daily observation.
GREAT FARM – SMART FARM ONE-STOP SOLUTION
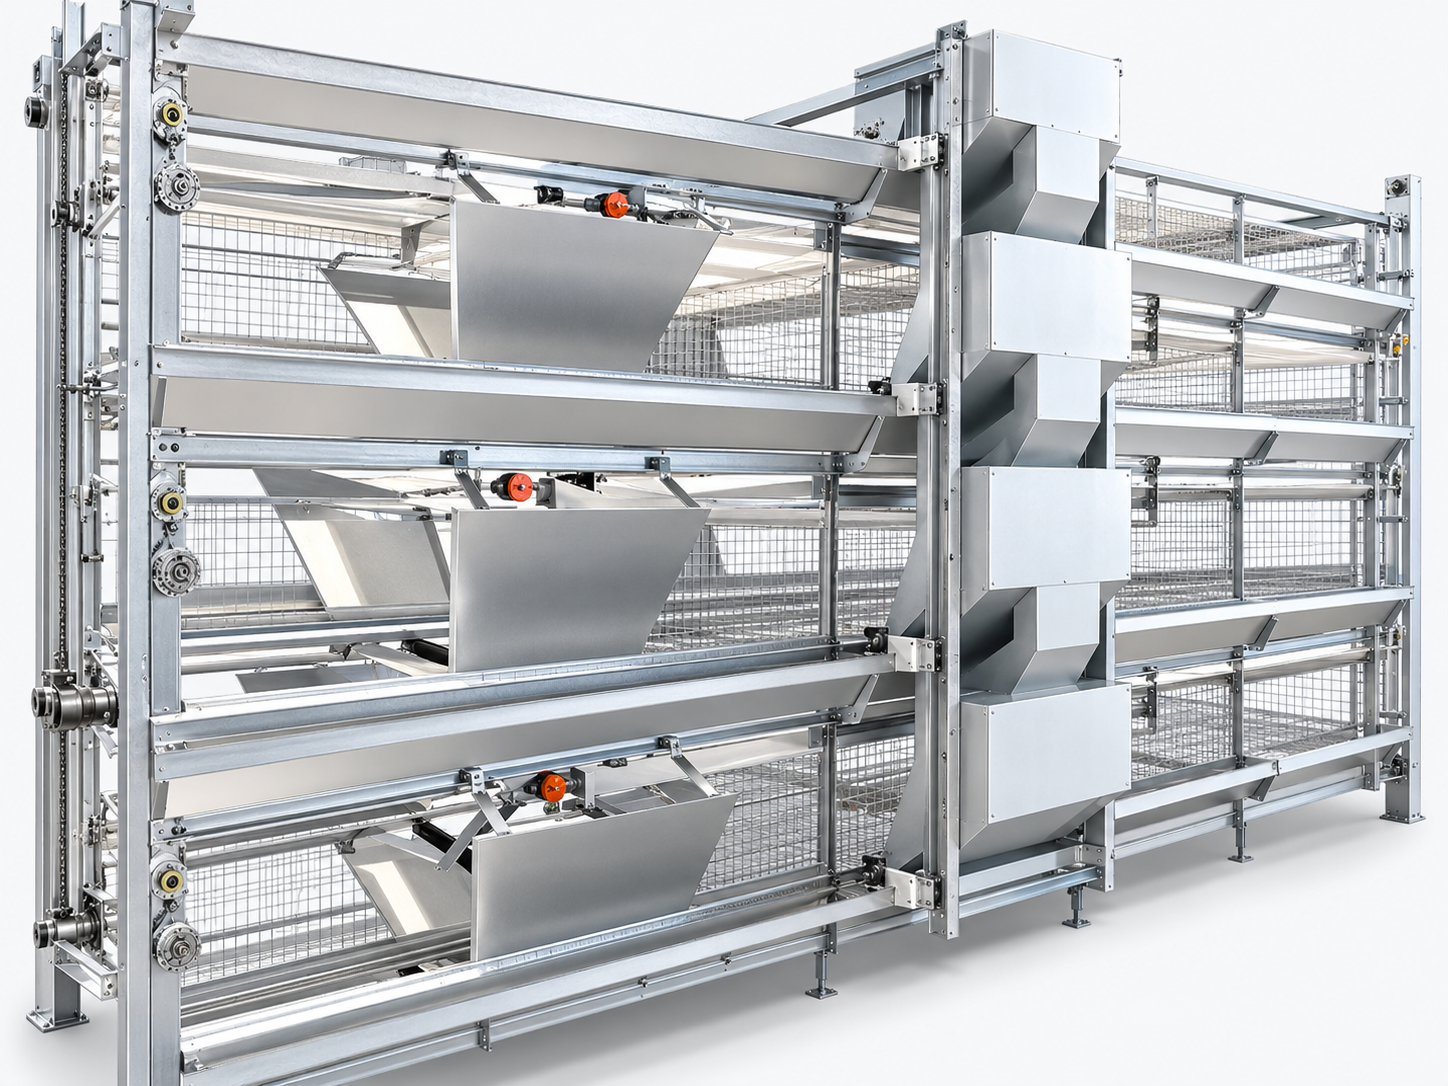
A poultry brooding cage system is an integrated housing arrangement designed for day-old chicks and the brooding stage. The reference guide describes a typical brooding period of approximately 4–8 weeks, depending on the production system and the farm's transfer plan.
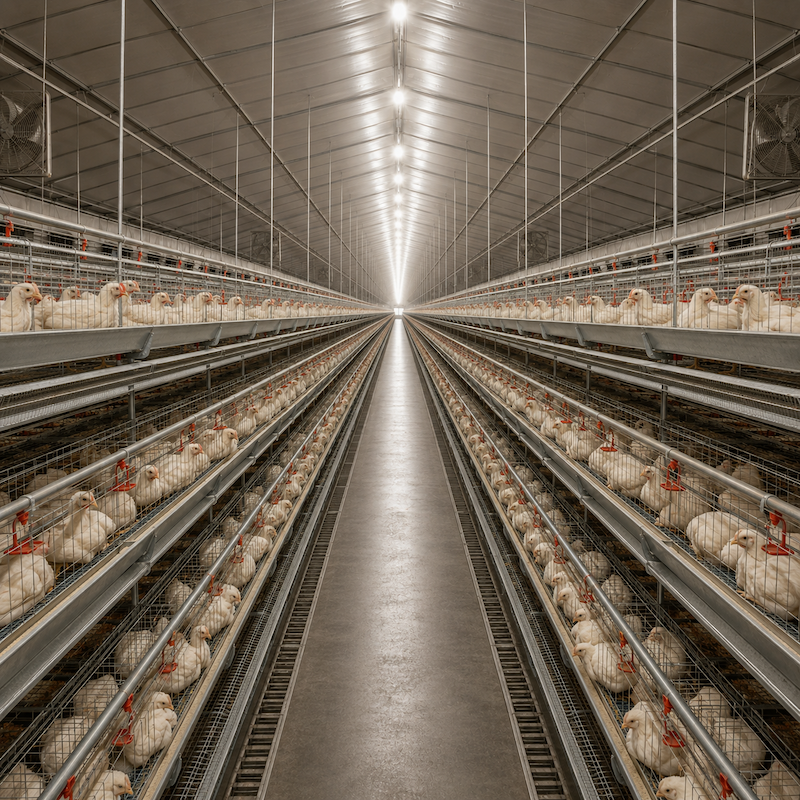
Instead of managing chicks only on the floor, birds are housed in purpose-designed multi-tier cages. The cage rows are combined with feeding and drinking equipment, heating, ventilation, lighting and manure handling. This makes the brooding environment easier to organize and monitor.
| System Component | Main Function | Key Management Point |
|---|---|---|
| Multi-tier cage | Provides designated chick-housing spaces with mesh floors. | Check floor condition, edges, cage height and access for inspection. |
| Feeding equipment | Delivers feed through accessible troughs. | Set trough height and feed level for chick size and age. |
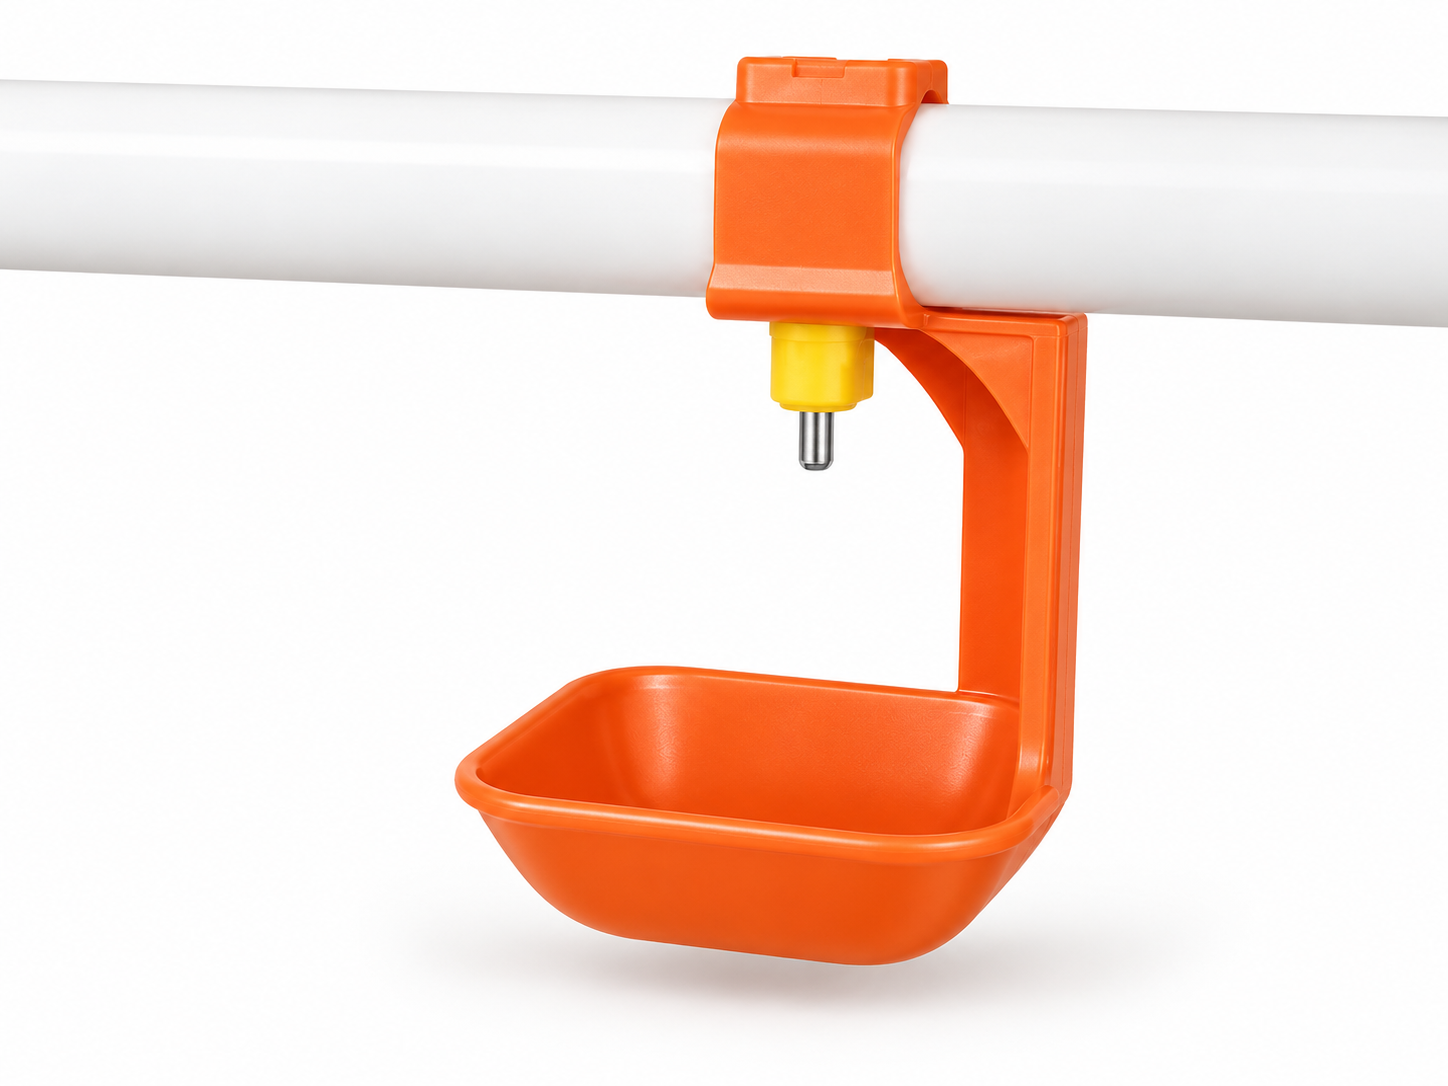
| Drinking line | Provides water through nipple drinkers and, where fitted, drip cups. | Check line height, pressure and drinker operation. |
| Heating and ventilation | Manage temperature, fresh-air supply and moisture removal. | Balance heat distribution with minimum ventilation and draft control. |
| Lighting and control | Supports a planned light schedule and environmental monitoring. | Use gradual adjustments and verify sensors and alarms. |
| Manure handling | Removes manure from beneath cage rows by belt or scraper, where specified. | Set a practical removal schedule and keep the area clean. |
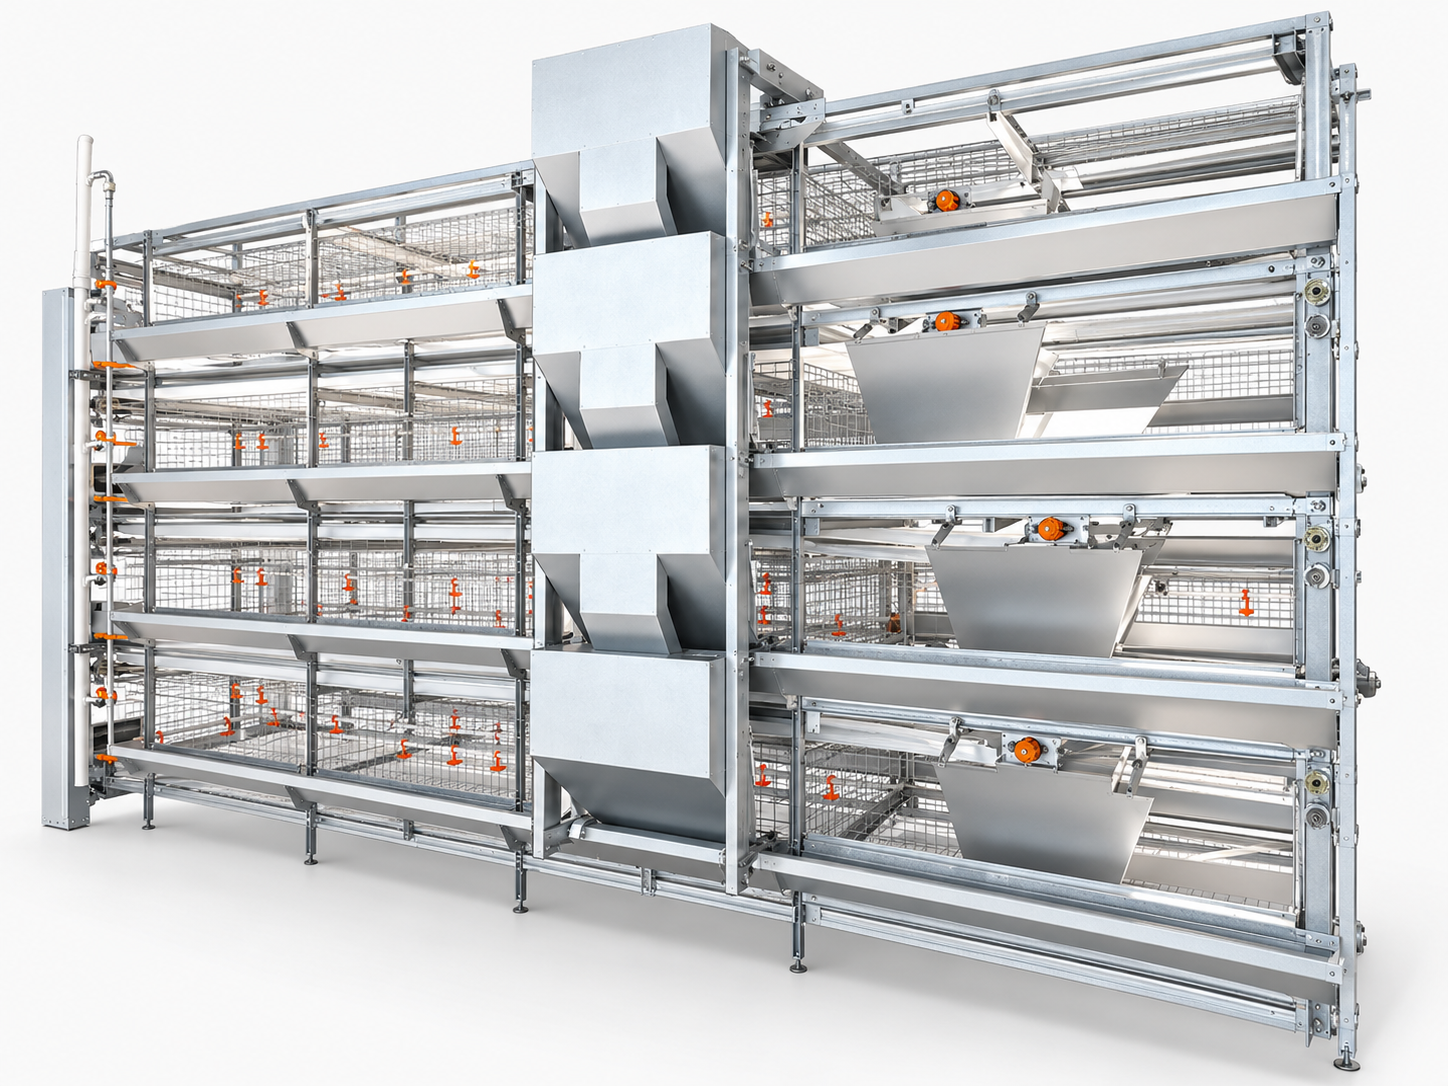
The cage should be designed for the size and behavior of young chicks. The supplied technical guide identifies several practical design considerations:
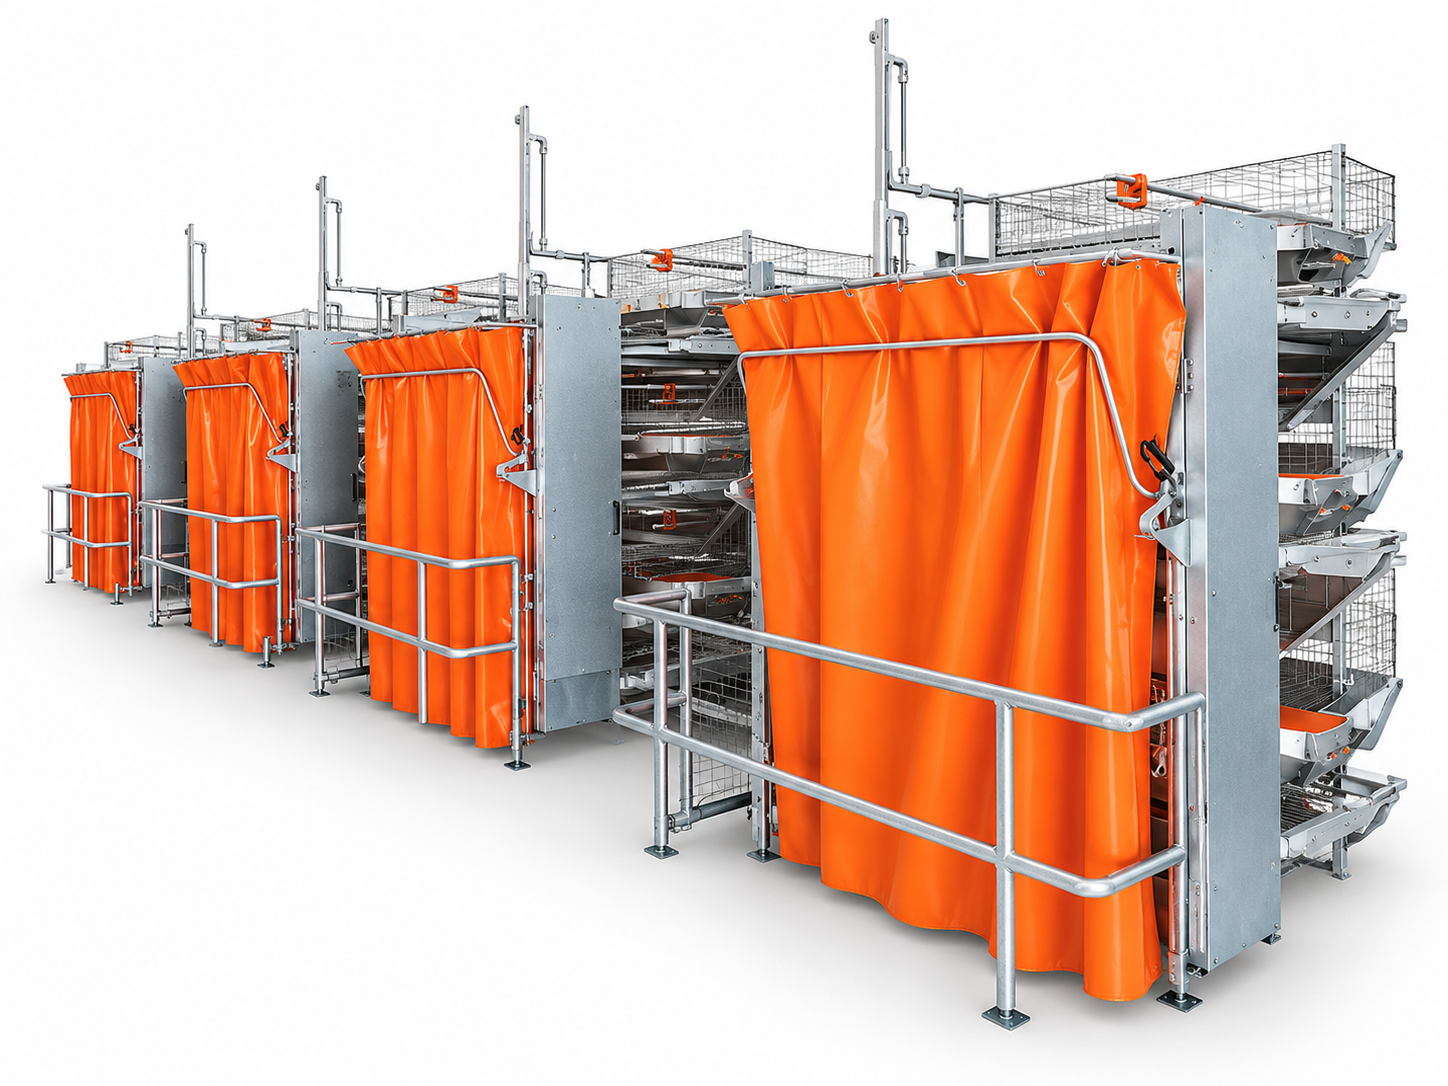
Temperature and air quality must be managed together. Heating without fresh-air exchange can allow moisture and gases to accumulate; ventilation without adequate heat management can create chilling and drafts.
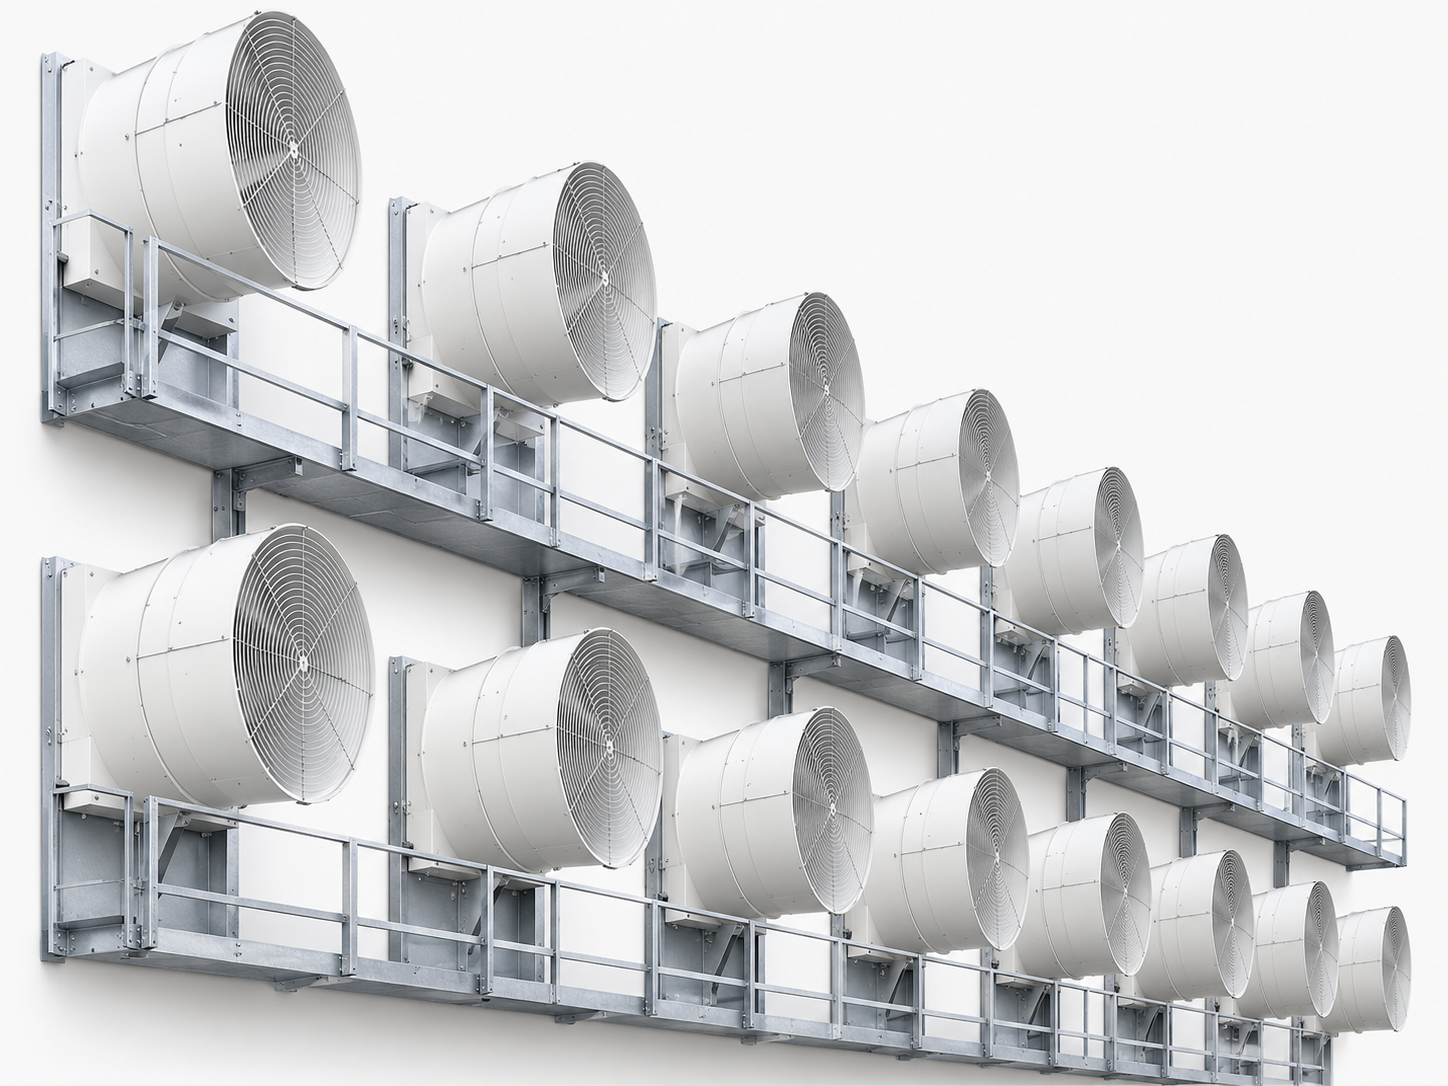
The guide describes a negative-pressure arrangement in which exhaust fans draw air out of the house while planned inlets direct incoming air along the ceiling. The incoming air mixes with warmer house air before moving down toward the birds.
The reference guide recommends an initially higher light intensity to help chicks locate feed and water, followed by adjustments as birds grow. A programmable dimming system can support scheduled changes and smoother transitions.
A central controller and sensors can support monitoring of:
Sensor readings should be checked against actual conditions at bird level. The control system supports management; it does not replace daily inspection.
Depending on the selected configuration, manure can be collected by belts beneath cage rows or by scraper arrangements. The manure-handling layout should provide a practical route to an outdoor collection, storage, composting or other designated treatment area.
Share your poultry-house dimensions, bird type, target flock size and preferred brooding arrangement. GREAT FARM can help review the cage layout and the supporting feeding, drinking, heating, ventilation and manure-handling configuration.
Equipment provides the framework, but brooding results still depend on preparation and consistent flock observation. The following workflow is adapted from the supplied technical guide.
A suitable brooding cage system should be configured around the building and production plan. Before selecting equipment, review the following project information with your supplier:
House length, width, clear height, column positions, access doors and existing ventilation openings.
Bird type, planned chick quantity, placement schedule, brooding duration and transfer arrangement.
Available power supply, heating fuel or hot-water source, water quality and drainage arrangements.
Ventilation strategy, inlet positions, heating distribution, sensor locations and control requirements.
Manure discharge route, cleaning access, maintenance space and daily inspection paths.
Confirm applicable local regulations, animal-welfare requirements and farm operating standards before finalizing the layout.
Yes. The reference guide describes systems for broiler, layer and breeder chick production. Cage dimensions, stocking arrangements and brooding duration should be selected according to bird type and the farm's production plan.
The supplied guide gives approximately 4–8 weeks as a typical range, depending on the production system. The actual transfer time should be based on the flock plan, target condition and the next housing stage.
Some commercial farms use cage brooding as their main system, while others combine floor and cage brooding in different houses. The choice depends on the farm's investment plan, management approach and production requirements.
Young chicks are sensitive to chilling, overheating, high humidity and poor air quality. Heating and minimum ventilation must be planned together so that moisture and gases can be removed without creating direct drafts at chick level.
In many cases, an upgrade may be possible after reviewing the building dimensions, clear height and structure. Ventilation, heating, manure handling and service access may need modification before the cage layout is finalized.
Capacity and equipment specifications depend on the house layout, bird type, planned flock size, cage configuration, climate and utility conditions. Share these project details so the configuration can be reviewed instead of relying on an assumed standard value.
 Hot News
Zhengzhou Jinhui Agricultural S&T Co., Ltd. provides livestock equipment & smart farm one-stop solutions for global poultry, swine & sheep farms. CE/ISO-certified, OEM/ODM support, 15+ years’ export experience. Request a project assessment today.
Room 1318, 13/F, Building A, Yingxie Plaza, 138 Zhengbian Road, Jinshui District, Zhengzhou City, Henan Province
Copyright © 2026 Zhengzhou Jinhui Agricultural S&T Co., Ltd. All rights reserved. Privacy Policy
 EN