EN
01
23L : 1D at placement
A common initial schedule that lets newly placed chicks find feed and water, with a short scheduled dark period. Do not keep this near-continuous pattern for the whole grow-out without an approved reason.

GREAT FARM · Poultry Management Insights
A practical guide to light–dark scheduling, lighting equipment and flock monitoring—from early brooding through the growing period.
Early placement
23 h light / 1 h dark
By day 7
Gradually reach 4–6 h dark
After day 7
Plan for 4–6 h dark
01 / The management principle
Light duration, intensity and distribution influence when broilers are active, eat, drink and rest. An intermittent program deliberately alternates light and dark periods; it should provide adequate darkness while preserving dependable access to feed and water during illuminated periods.
The source brief describes three approaches: an early 23L:1D pattern, an 18L:6D light–dark pattern, and shorter feeding-related light intervals beginning in the second week. These are management concepts, not a single mandatory timetable for every flock.
02 / Common approaches
The following approaches reflect the supplied article. The practical interpretation below also considers the Ross Broiler Pocket Guide 2025, which does not support continuous or near-continuous lighting throughout the full growing cycle.
A common initial schedule that lets newly placed chicks find feed and water, with a short scheduled dark period. Do not keep this near-continuous pattern for the whole grow-out without an approved reason.
An example of a defined daily rest period. It is not an instruction to switch abruptly on day four. Increase darkness progressively and monitor chick activity, intake and uniformity.
Some farms use more than one light period to coordinate feeding and rest. Keep programming simple, allow time for feeding, and retain a continuous dark block of at least four hours where applicable.
03 / Photoperiod illustration
The bars below depict total light and dark hours within a 24-hour day. They are comparison examples—not an automatically prescribed three-stage progression.
According to the Ross 2025 guidance, start with 23 hours of light and 1 hour of darkness on the first day; increase the dark period gradually toward 4–6 hours by day 7. After day 7, a 4–6 hour dark period is commonly recommended. For a more fragmented light schedule, maintain at least one continuous four-hour dark period and check feeder and drinker access.
04 / Lighting environment
The following values are practical Ross 2025 reference points for broilers, not guaranteed specifications of the equipment shown in the photographs. Local legislation and flock-specific breeder guidance take priority.
| Parameter | Management reference | Field verification |
|---|---|---|
| Light duration | Initially 23L:1D; gradually increase darkness by day 7 | Check automatic timer and actual switching times |
| Darkness after day 7 | Typically 4–6 hours; at least one continuous four-hour period for intermittent schedules | Observe flock rest and changes in feeding patterns |
| Light intensity, first week | Typically 30–40 lux in the light period | Measure at bird level across the house |
| Light intensity, after day 7 | Typically at least 5–10 lux in the light period | Confirm flock distribution and local minimum requirements |
| Dark-period light leakage | Target below 0.4 lux | Check windows, doors, inlets and fan housings |
| Lighting transition | Make changes gradually over 2–3 days rather than abruptly | Review programmable schedules and dimming functions if fitted |
| Emergency readiness | Keep backup-lighting and power-response procedures available | Test the site's actual backup and alarm arrangements |
05 / Equipment integration
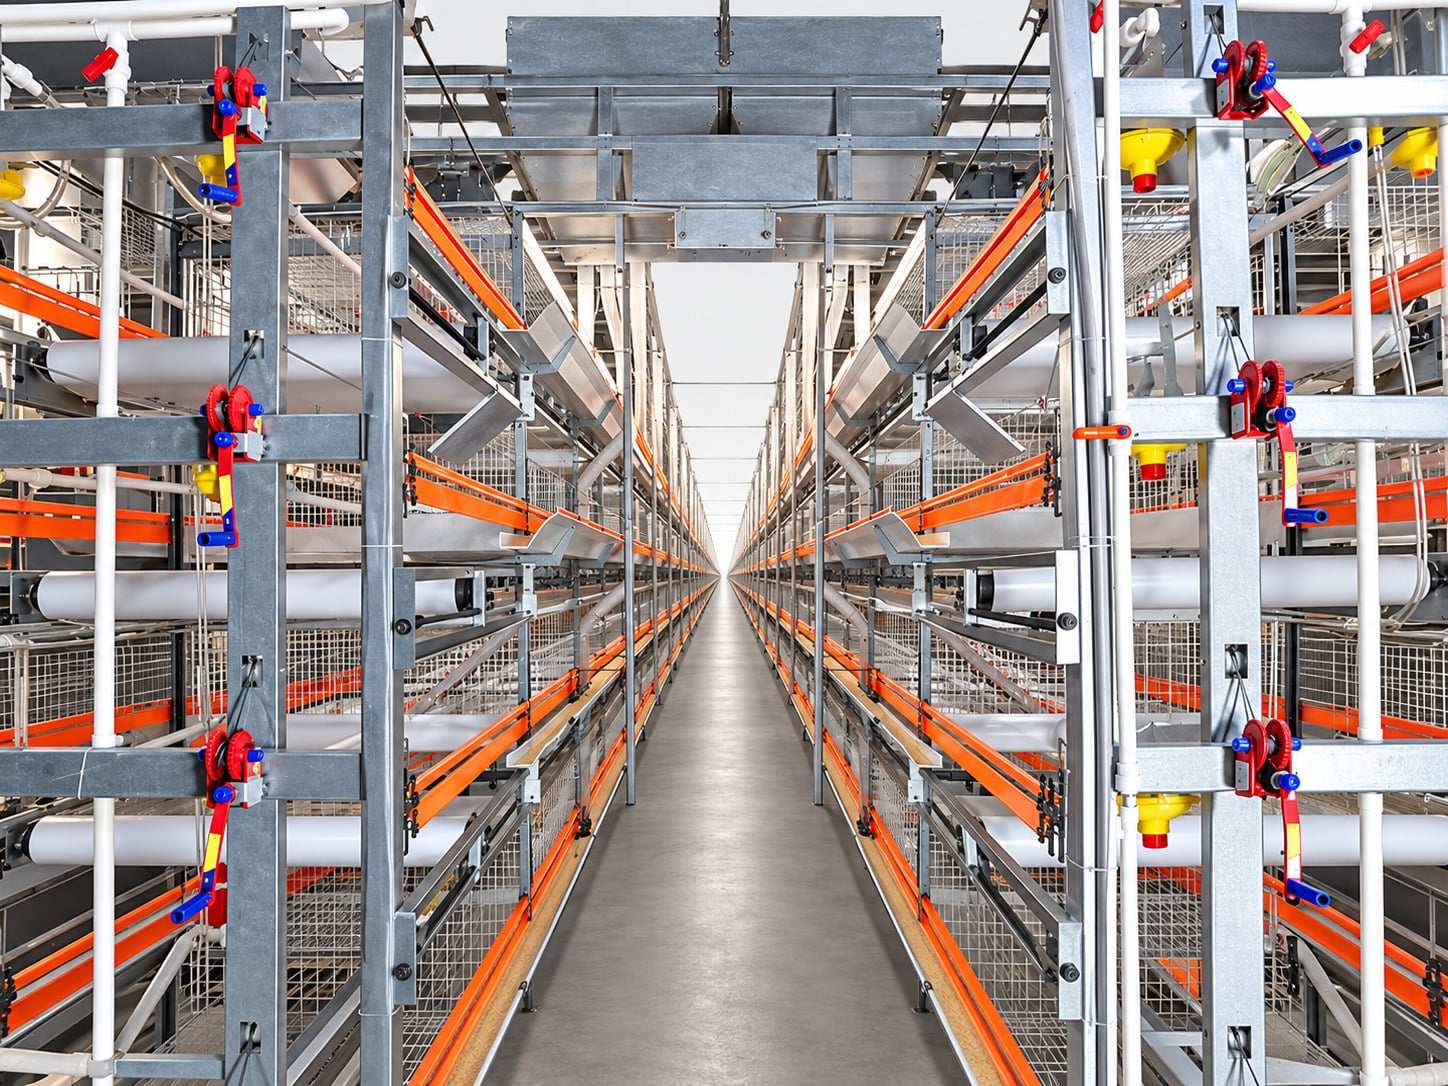
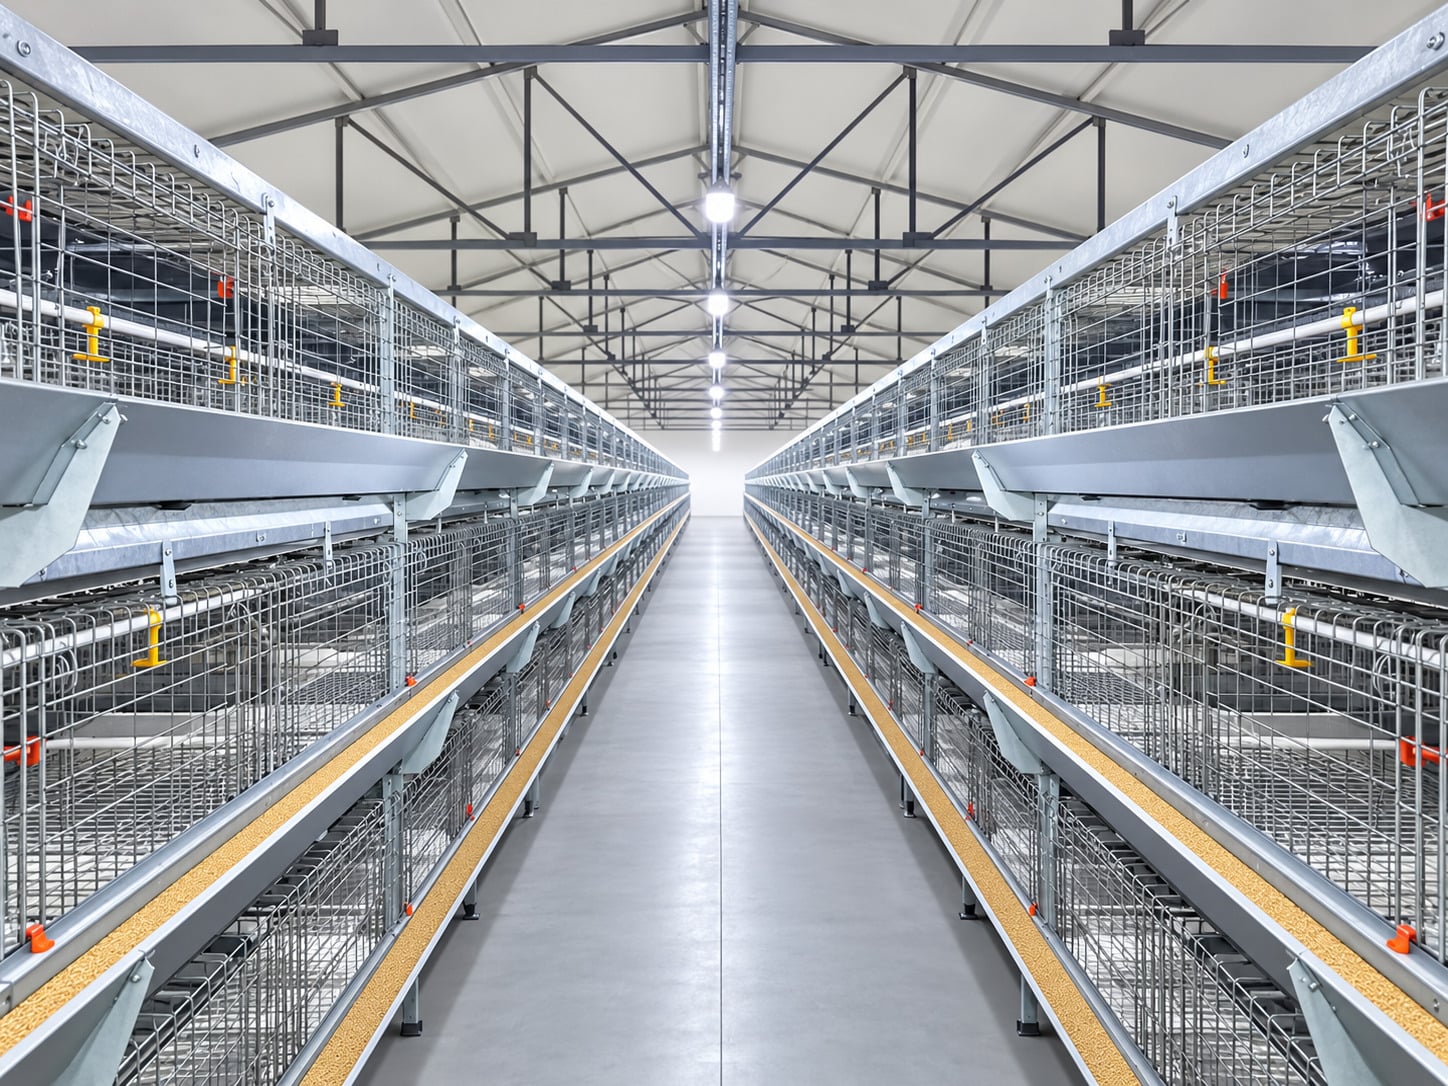
A reliable lighting plan starts with the poultry house layout: fixture positions, cage or floor level, natural light entry, feeder and drinker locations, and the required control zones. Programmable timers enable repeatable on/off cycles; dimmable luminaires may support smoother transitions if the selected equipment includes that feature.
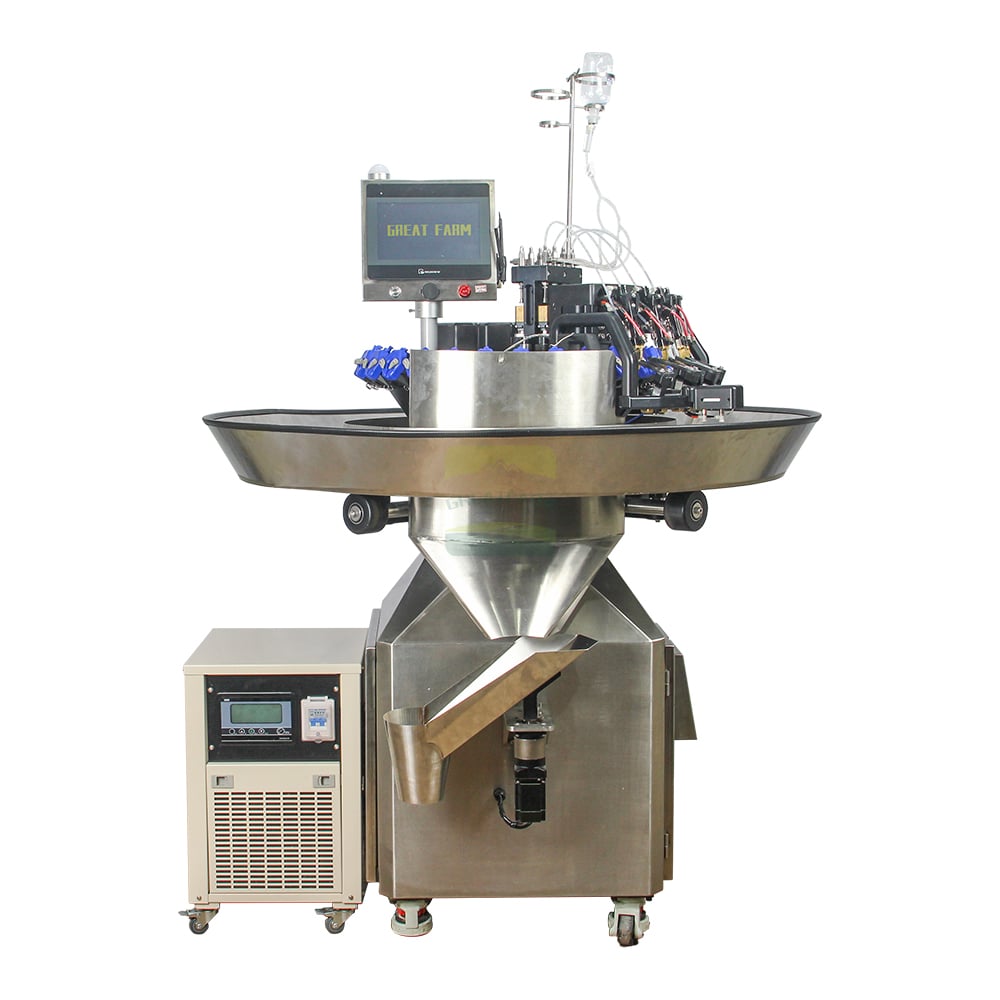
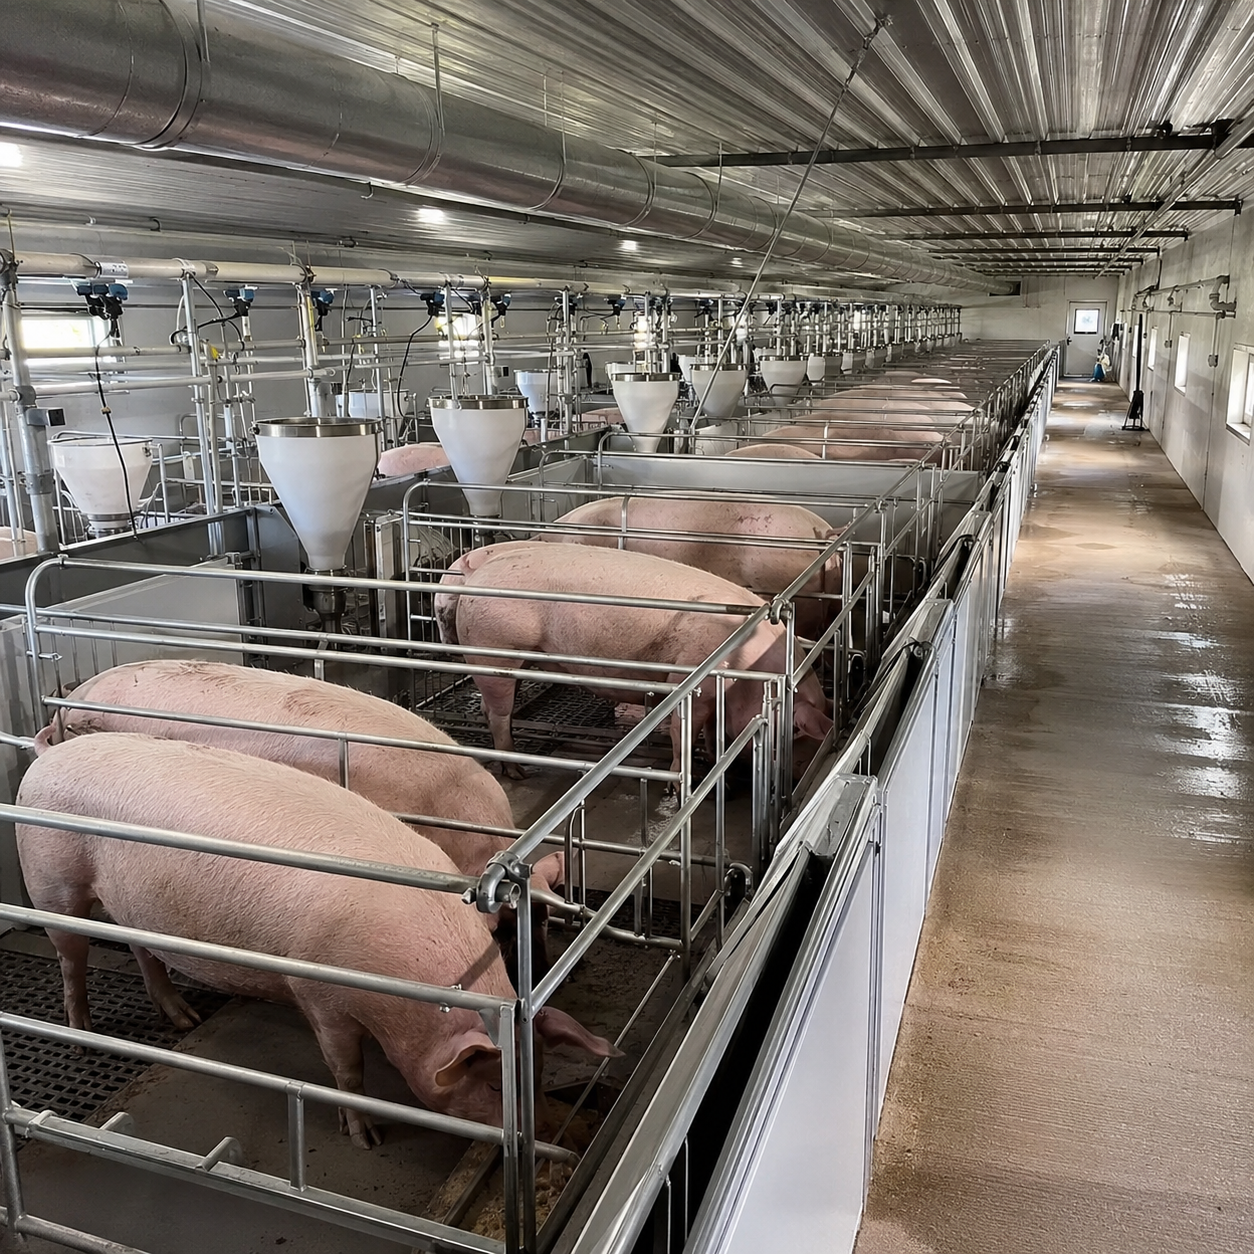
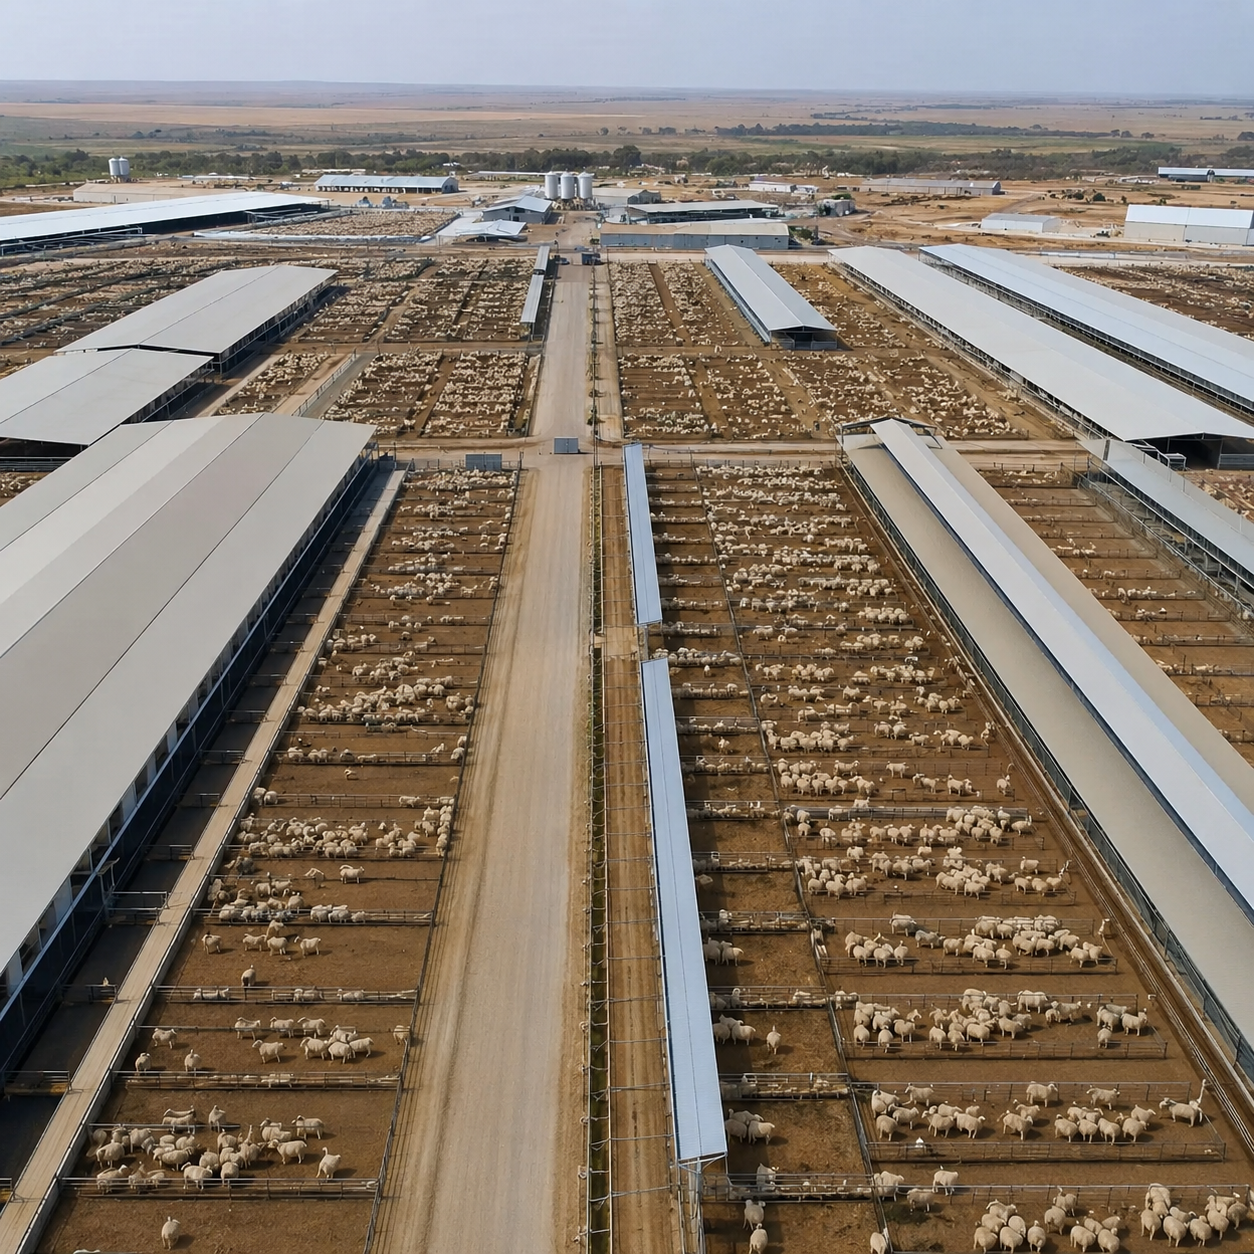
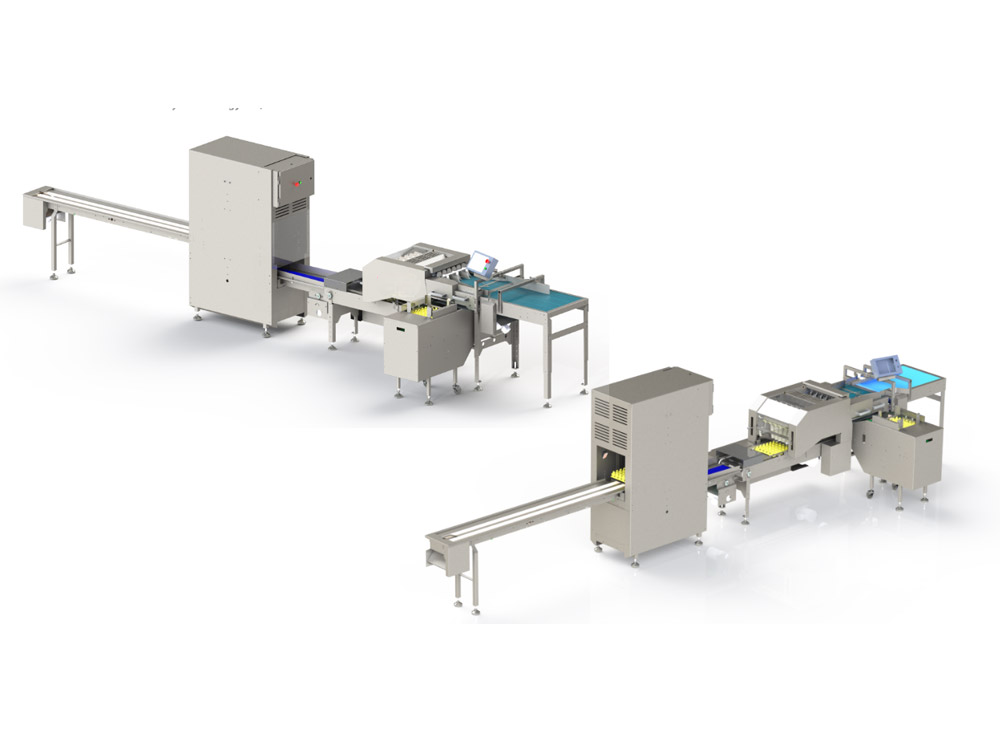
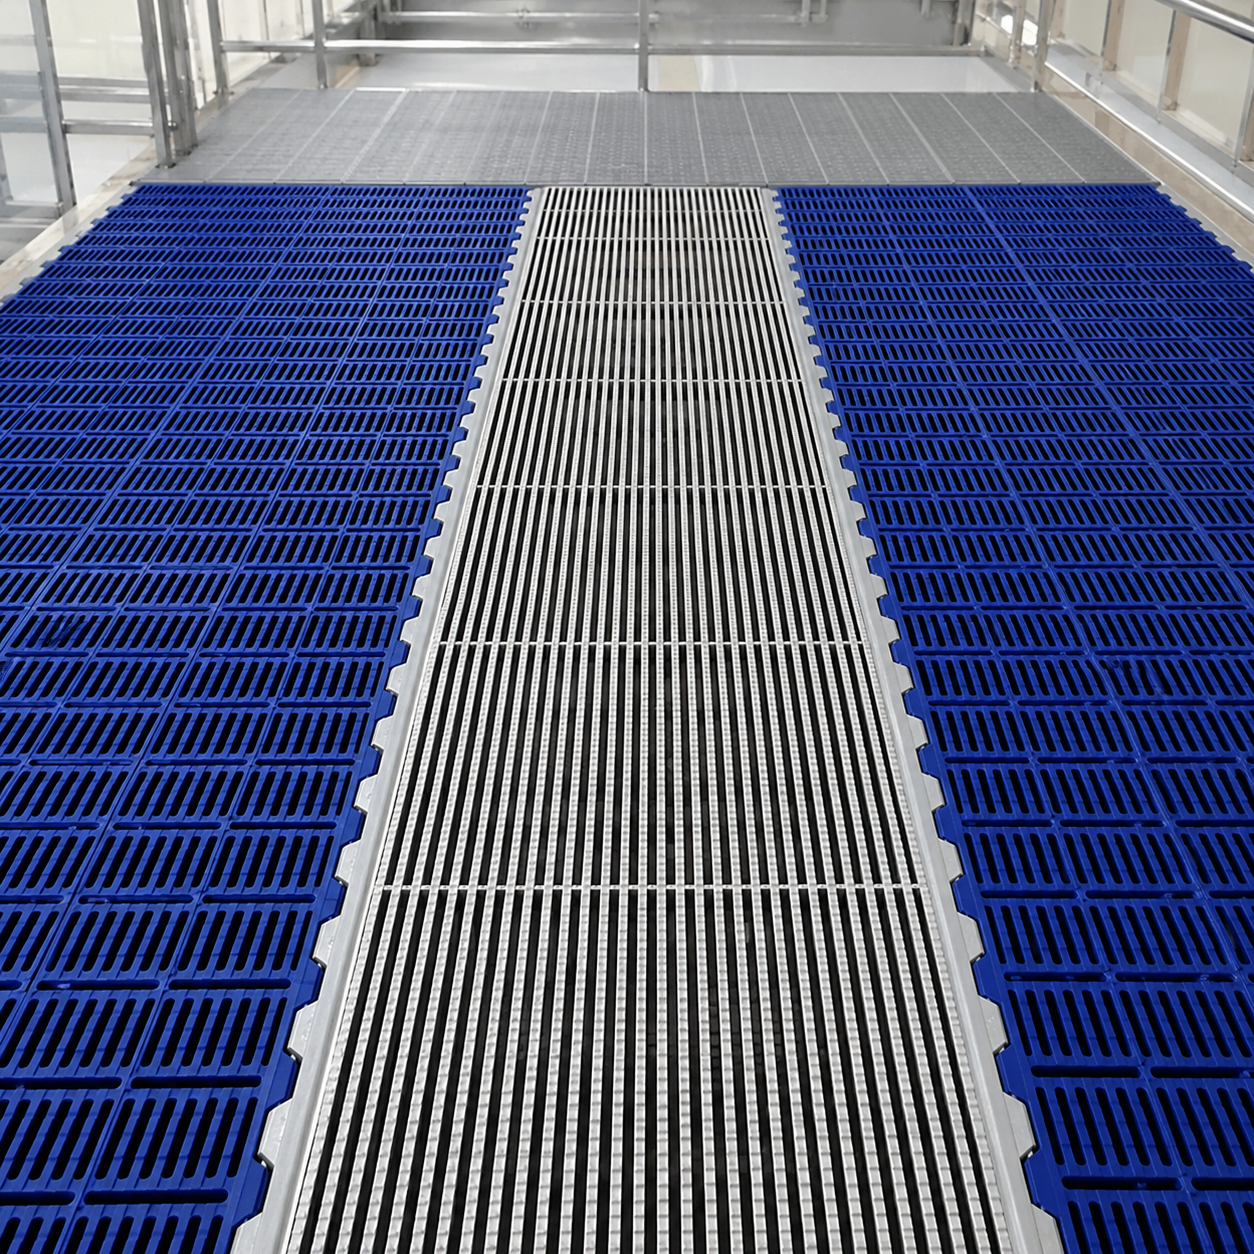
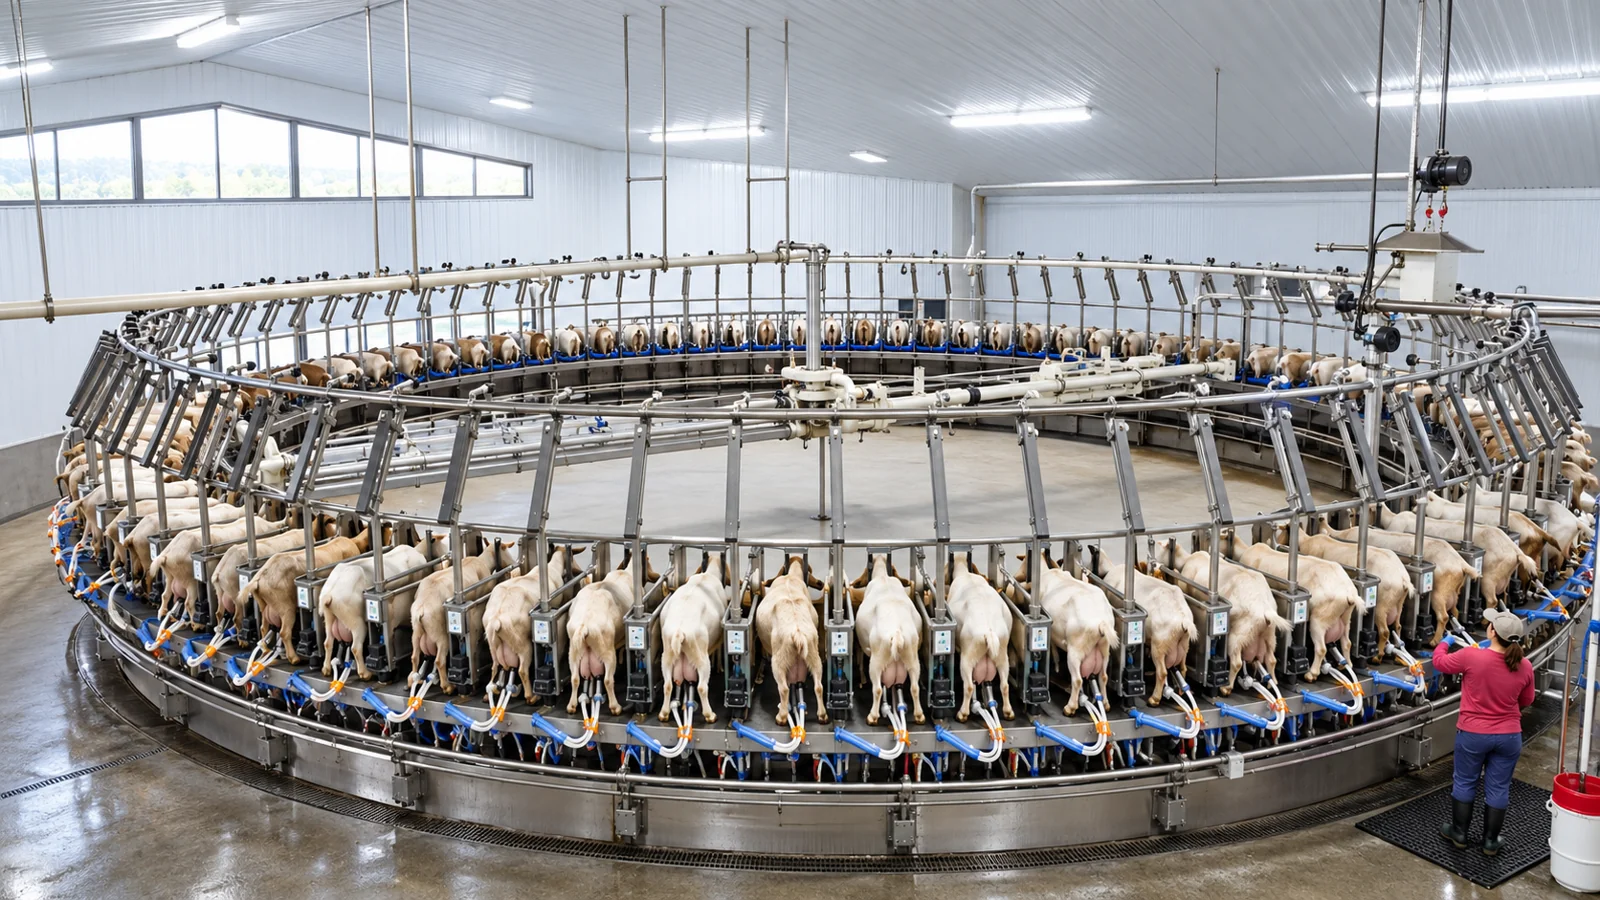
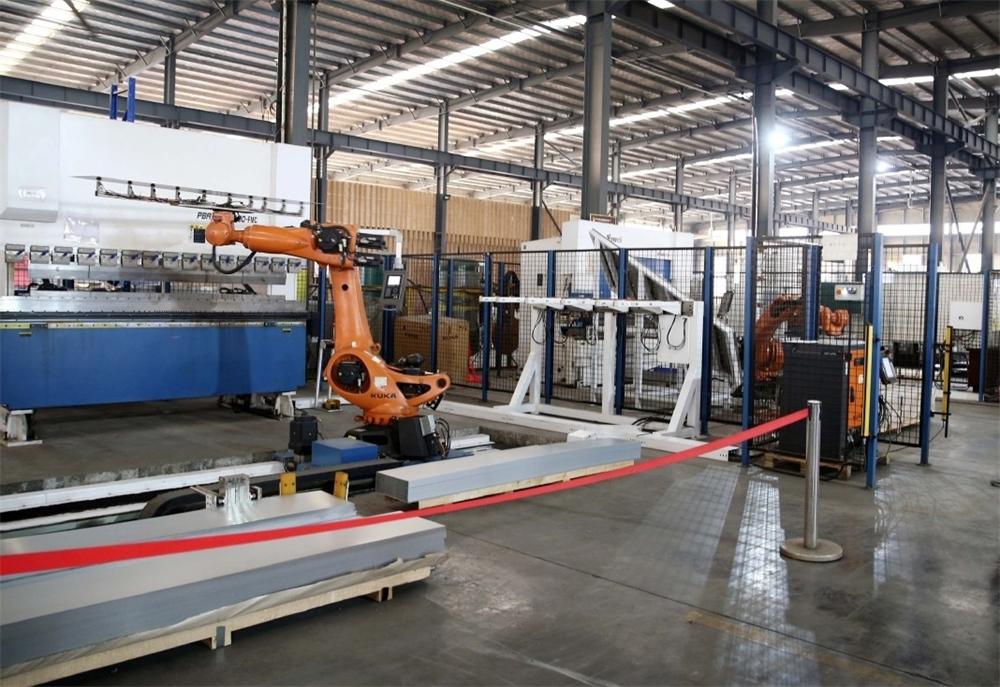
The supplied photographs show poultry housing equipment, not a verified lighting-controller model. Specific lamp wattage, luminaire count, electrical load, color spectrum or dimming capability must be confirmed from the final equipment specification.
06 / On-farm execution
Poultry project support
Share the building layout, cage configuration, flock type and management goals. GREAT FARM can discuss how lighting equipment fits into the overall farm equipment plan.
07 / Frequently asked questions
It means 23 hours of light and 1 hour of darkness within a 24-hour period. This is commonly used immediately after chick placement. It should not be treated as the standard for the entire grow-out period.
No. An 18L:6D schedule is an example rather than a universal rule. Changes should be gradual, and the final schedule should reflect bird age, flock response, genetics, local welfare requirements and the production system.
Not necessarily. A simple daily light period followed by a continuous dark period can be appropriate. Multiple light periods may be used in some management plans, but they should not disrupt feed and water access, and at least one continuous four-hour dark period is advised in the cited Ross guidance.
Use a suitable light meter and take readings at bird level at representative positions across different tiers and aisles. Confirm uniformity and identify shaded or excessively bright areas before finalizing fixture settings.
Feeder and drinker systems should remain physically accessible and ready for the following light period. Provide adequate feeding and drinking opportunities while birds are active, and monitor whether a changed schedule reduces daily intake or flock uniformity.
No lighting schedule can guarantee prevention of these conditions. Lighting is one management factor among genetics, ventilation, nutrition, growth rate and flock health. Avoid claims of a fixed percentage reduction without validated flock-specific data.
A planned dark period is not a substitute for an emergency-power strategy. Farms should test alarm systems, backup lighting or backup electricity as applicable, and follow their animal welfare response procedures.
Provide house dimensions, number of rows and tiers, bird type, target intensity, available voltage, desired control zones, natural light conditions and any dimming or monitoring needs. Electrical specifications must be confirmed against the selected equipment.
1. User-supplied article: Intermittent Lighting Method for Chicken Farming Equipment. Its three proposed approaches are described and qualified above.
2. Aviagen — Ross Broiler Pocket Guide 2025, lighting management and typical lighting program.
3. Aviagen — Ross Broiler Management Handbook 2025, lighting duration and pattern.
Lighting examples are management guidance, not a performance guarantee or a specification of the equipment pictured. Consult the breeder's current guidance and applicable local requirements before implementation.
 Hot News
Zhengzhou Jinhui Agricultural S&T Co., Ltd. provides livestock equipment & smart farm one-stop solutions for global poultry, swine & sheep farms. CE/ISO-certified, OEM/ODM support, 15+ years’ export experience. Request a project assessment today.
Room 1318, 13/F, Building A, Yingxie Plaza, 138 Zhengbian Road, Jinshui District, Zhengzhou City, Henan Province
Copyright © 2026 Zhengzhou Jinhui Agricultural S&T Co., Ltd. All rights reserved. Privacy Policy